We’ve done dry media (ink), wet media (paint), and so today we’ll do fluid media (mist).
As I mentioned in my first Stencil post, the drier the medium, the better the results if you want precise images. However, I also said that wet mediums can be used dry, like stippling with paint, for example. The same goes for mist, which is fluid.
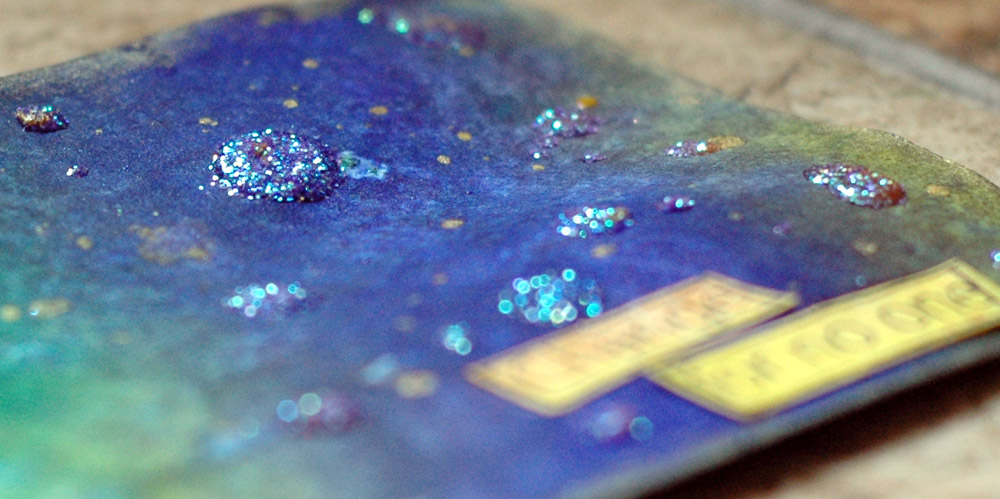
You can mist your heart out:

And get this:

Now, to be honest, no one will ever mist that heavily and, chances are, they would roll paper towels over it first to soak up some of the excess before removing the stencil so it wouldn’t be this messy. I just wanted you to see how fluid the mist really is.
You can also spray some mist on your craft sheet, pick it up sparingly with a paintbrush, and get this:

Kind of a fun, arty look – not perfect but still quite defined.
Or you can go easy! Now I’ve been told that’s easier said than done so here are my tips and tricks to get a perfect misted stencil image every time. Keep in mind, it’s not wrong to mist your heart out if that’s they look you’re going for! If it’s not, read on!
First, do not, I repeat, do not press all gentle and nice on the mister. That will guarantee you splotches and puddles of ink. Not what we’re going for here! Just press down my friends, give it a good push and commit to the spray! I know I’ve mentioned this before….
Second, stand back; you don’t need to be on top of your project. Mist has a mind of it’s own and although you can say, “I want it round about there,” that’s as precise as it gets. It’s liquid and you’re spraying it, you have to be content with drifters. That being said, masking can beat the pants off fly away mist!

See? No mist will go where I don’t want it to be (like the top and bottom of the tag)!
Hold your mister about 12″ away and go for it. Don’t do it too much, two maybe three sprays are plenty, we’re trying to stay dry, remember? Carefully lift a corner of your mask and check, chances are you’re good to go – more ink comes down than you think.

This was two sprays, loads of colours and a few puddles – that’s why you don’t want too much.
My other no fail trick? Don’t spray on your project. No, seriously, it works! This is one of the only times I break out my misting box…

Set your paper inside, lay down your stencil, mask if needed, then aim your nozzle at the back of the box and go! Lots of ink will drift down over your project and give you a great image. This is fabulous with white mist on black paper – perfect snowy night!
Because this is an indirect method, it’s also the driest, but may require a few extra sprays. Always lift a corner and check, then mist again if you want.

See – a lot cleaner but the colour isn’t as intense.
One more thing – don’t waste all that mist on your stencil! Flip it over and press it onto another tag, or in an art journal, or on a 12×12 piece of cardstock for a LO background. Just use it!

You get the negative – sweet, huh?
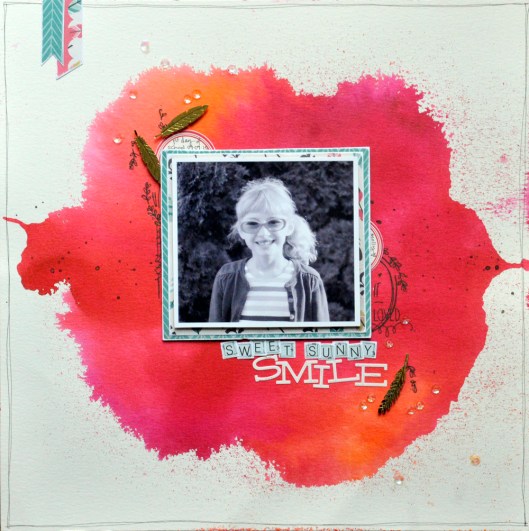
Here’s my finished tag:

I misted three colours heavily (though not as heavily as the first example) and blotted the stencil before removing. I wanted a defined but not perfect image and it worked!
I hope this makes you want to go play with mist a little – remember to leave me a link in the comments so I can check out your work when you give this a spin!
Next week – fun media with stencils! 🙂
S.

 I punched it up a notch with overspray, ghosting, and overheated molding paste.
 And I love how the titles worked out on both! Those alphas are from October Afternoon’s new holiday line, Under the Tree, and I love how it can be totally Christmassy, or not.
 As always, it was fabulous seeing how everyone used the exact techniques and products I did and yet they are all so different. Gorgeous and amazing pages were made, as usual! If you’re a regular who missed the class this month, you really did miss out! #sorrynotsorry Lol!