A few days ago I showed you how I had an idea for these pages, went through an epic failure, and then found redemption on better and bigger paper.
Today, you get the final product!
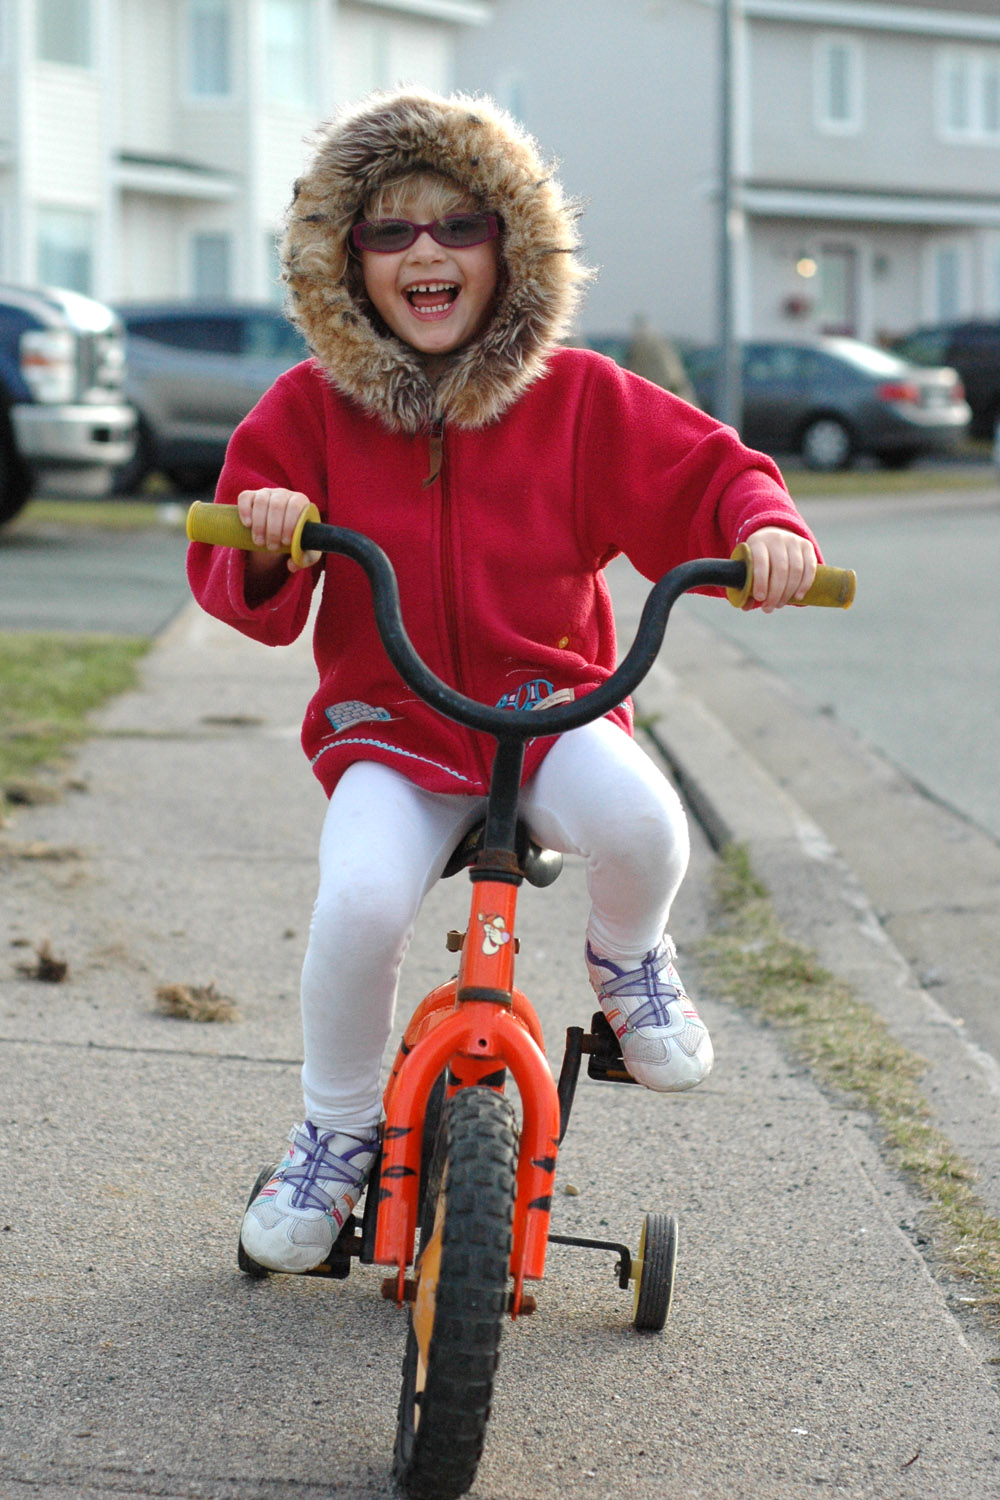
The rainbow page is my favourite – I love the colours and the pictures so much:
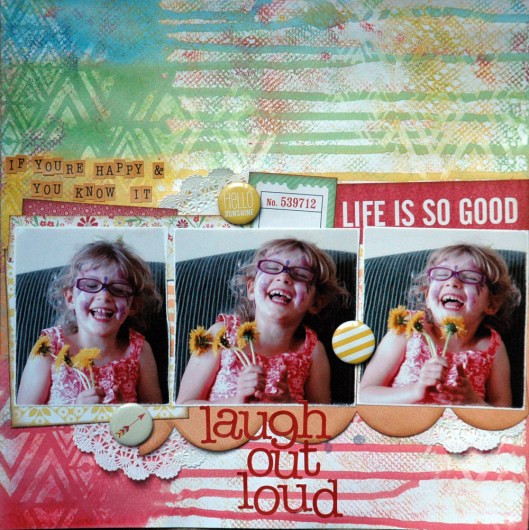
I first sponged glossy gel medium through a stencil, then added puddles of Distress Paint to the edge. I misted until I ran out of water (that’s only a slight exaggeration!) and let the colours run down the page. The texture is from rolling paper towels over to blot up the excess water. How cool is that?!?!

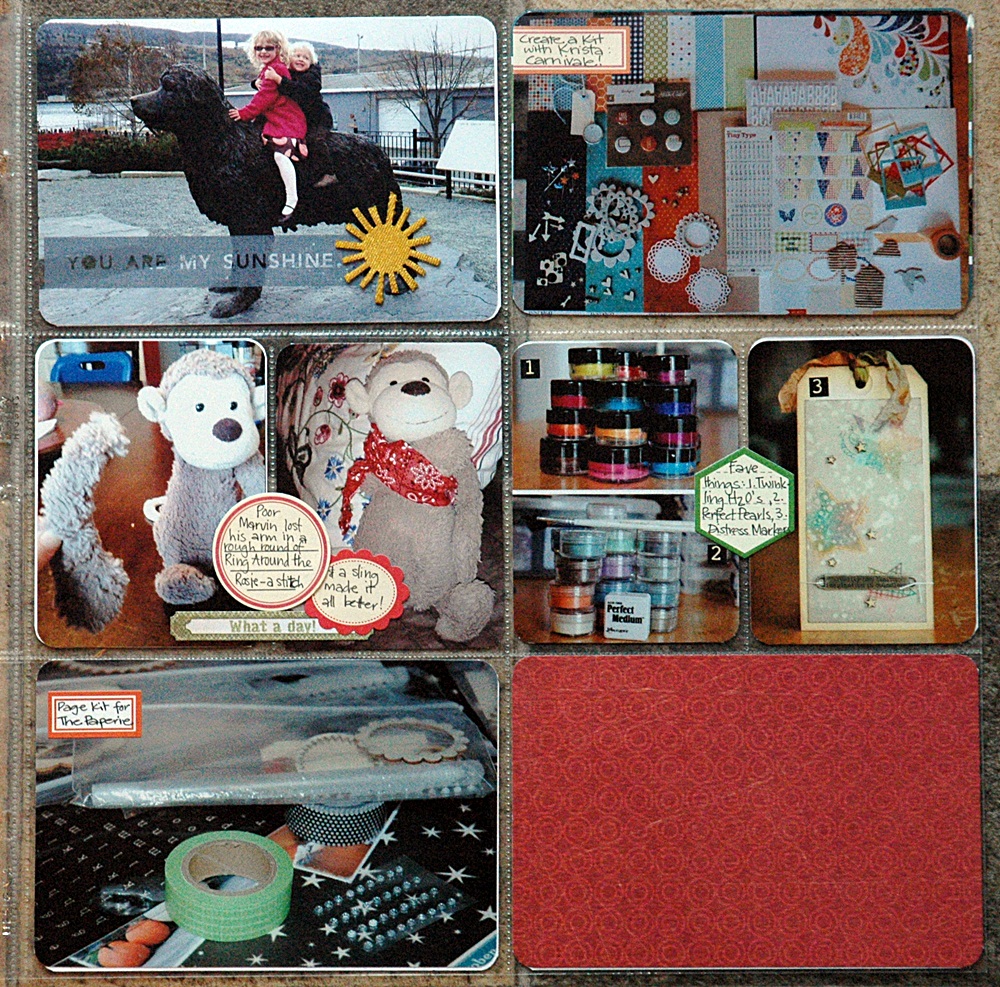
This second page is based on a Simple Scrapper template from the July 2013 Premium Member templates:
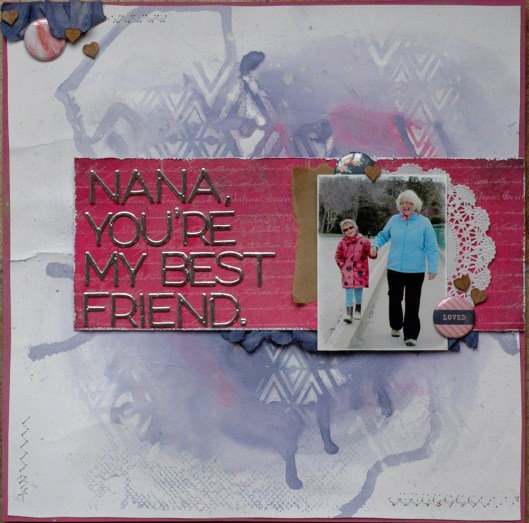
Once again you start with glossy gel medium through a stencil, then add puddles of paint to the middle of the page. Mist with water and tip the paper to allow the paint to blend and then run in different directions.
The resist is fabulous and has a great shine in real life:

I used some Heidi Swapp fabric that I died with the paint and some new Studio Calico wood veneer to add dimension and layers to the top:

So there you have it – a class LO all the way from idea to final product, with a mini tutorial to boot! Hope you enjoyed, I’ll be back later this week with more ICAD’s and the final LO’s from the June/July Paperie Card Kit.
S.