ICAD 2013 | June 22: boom!

Tags

, ,

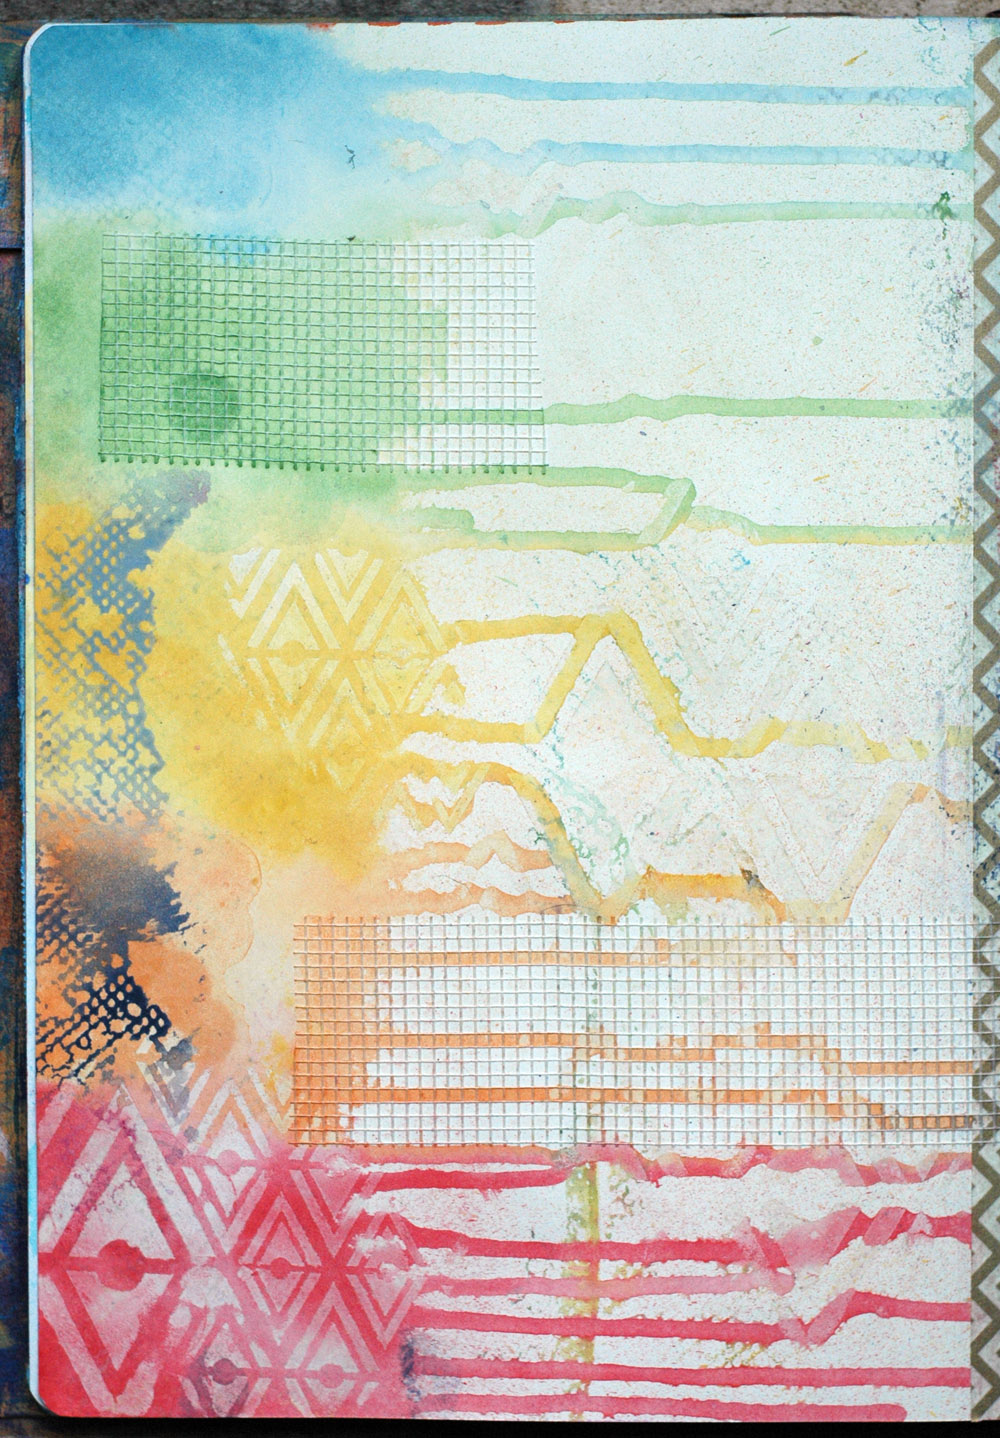
This card was the outcome of a total creative blank. I seriously looked at the card and had no clue where to even start. So I grabbed the first thing on my craft island – gold chevron washi tape – and stuck it down to cover the card. It’s always better when the space staring back at you isn’t plain white!

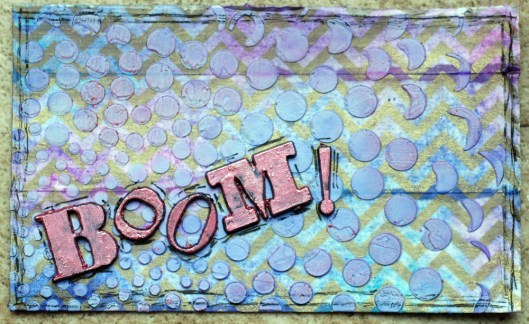
A mist with new colours of Dylusions Ink Spray was next. And that was actually pretty cool because they resisted the gold chevron in the washi but not the white part in between. I added some molding paste over a stencil but didn’t like it so I scraped it off, making it purple as it picked up the ink beneath. I tried again over the circle explosion stencil and liked it a lot better.

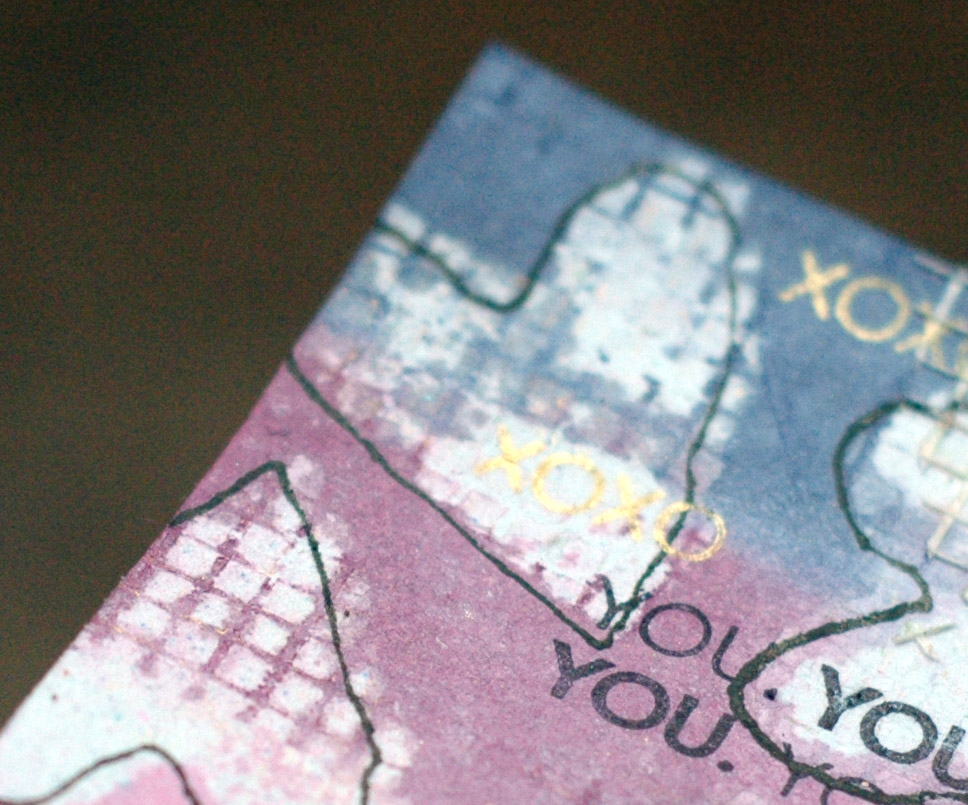
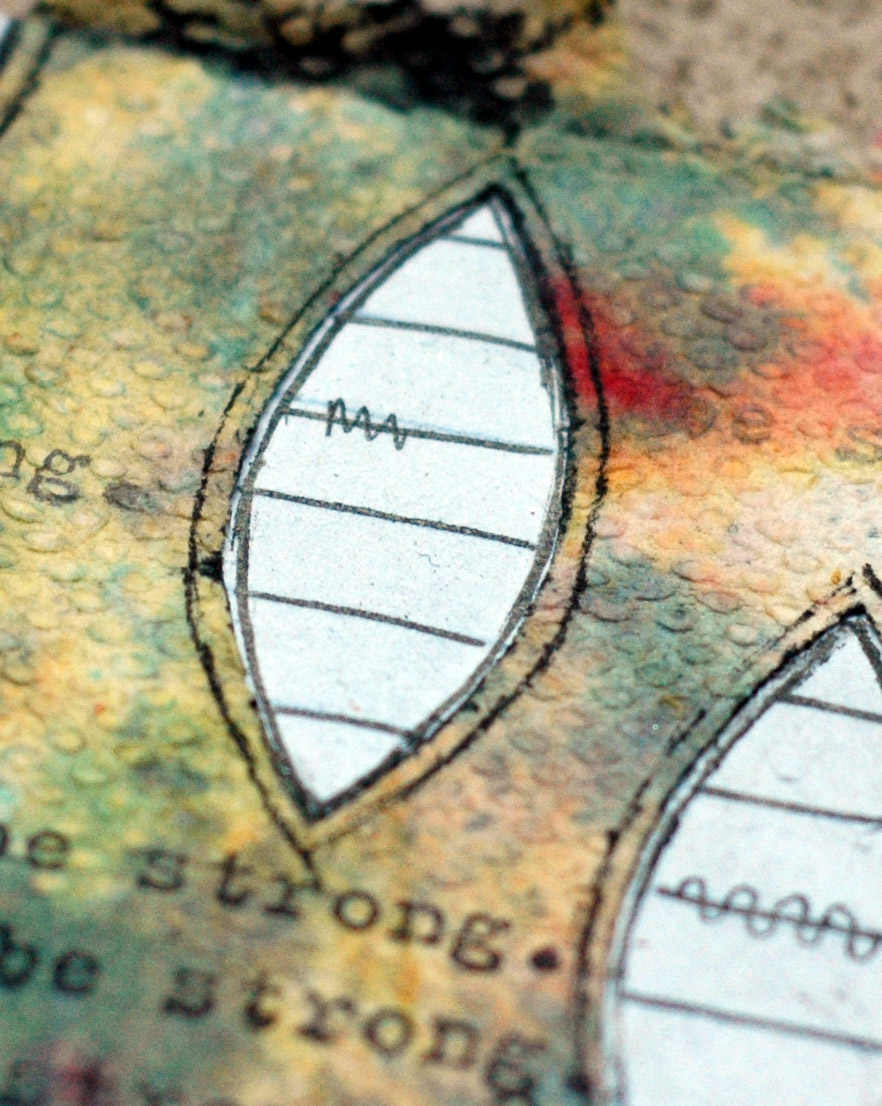
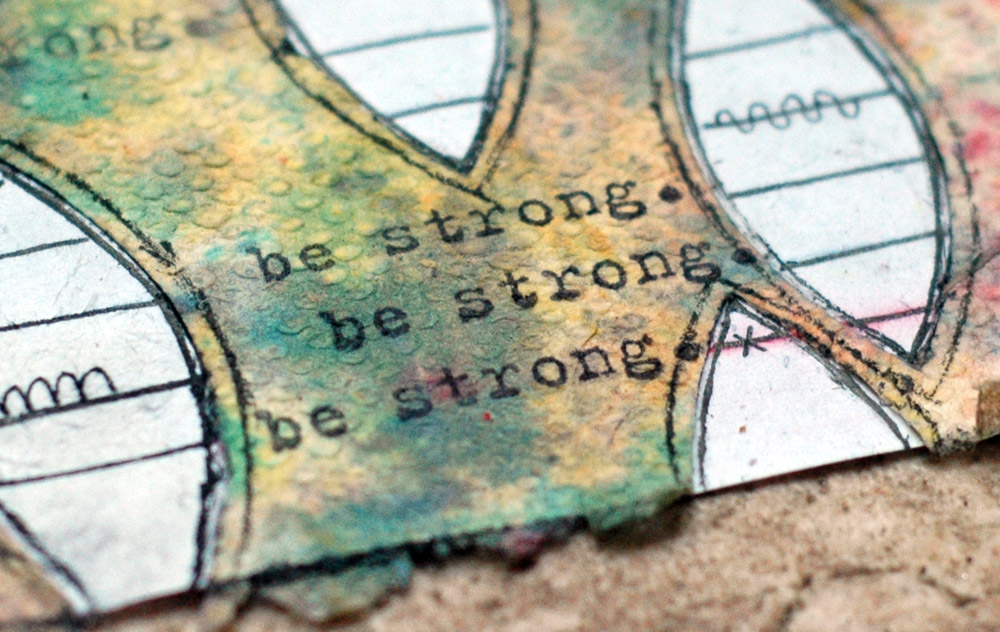
Then I blanked again. So I left the card, did another one instead with the leftover molding paste, and when I finally came back to this one I decided to go with the explosion idea of the stencil. I pulled out my Idea-ology Alpha Parts, covered some letters with Rose Inka Gold and stuck them on. I finished it off by doodling with my trusty Pitt Pens.

boom

Pretty blah, but they can’t all be masterpieces.

As always, I do love the shine in the Inka Gold:

boom - shine

At least it’s shiny blah, right? 🙂

S.

ICAD 2013 | June 21: go your own way

Tags

, ,

This started out with a scrap of paper I had left from the Paperie June/July card kit. Trust me when I say I loved all the paper so much that there wasn’t a whole lot leftover See my LO’s here, here, and here)! And this piece had to be used – it’s by Allison Kreft for Webster’s Pages and it’s really just too cute.

I adhered it to an index card with matte medium, and added a piece of Studio Calico Fabrips that I had lying around – another scrap from designing with the kit, it was the binding of my mini album. I then scraped used molding paste (hence the purple colour) over the Chevron Arrow stencil and put it aside.

go your own way - closeup

I wasn’t a big fan of this card, was really just trying not to throw away my scraps, so I had no idea where to go with it. Coming back to it a while later, these lyrics popped into my head – that’s what my mind saw with the mix of arrows and birds, I guess.

go your own way - words

Anyway, I printed them on kraft sticky labels, stuck them down and doodled with my Pitt pen. A little Graphite Inka Gold around the edges and I called it done.

go your own way

A weird mix for me but that’s what I like about this project – anything and everything goes, even the weird stuff!

S.

ICAD 2013 | June 20: adore you

Tags

,

So this was a test run with an idea I had for the Year Long Album class. It was an epic failure. But… I thought that with the right paper and more room I might be able to make it work – and I did!

So today you’re getting a bit of the process from idea to completed teaching pages!

Here’s the card:

adore you

The resist and the Distress Paint idea didn’t work at all the way I wanted but the drywall mesh:

adore you - drywall mesh

and the areas where I took off the mesh:

adore you - drywall mesh negative

are pretty cool.

Then I moved on to my Dylusions Art Journal to test it out again and voila! That’s what I was looking for!

Distress Paint Resist

The resist worked great and so did the paint. The rainbow page was the technique I attempted on the index card:

Distress Paint Resist - rainbow

and the texture that came about is yummy!

Distress Paint Resist - rainbow texture

I then tried out something a little different:

Distress Paint Resist - purple

and love how it ended up as well, with its fun drywall mesh pattern:

Distress Paint Resist - purple texture

And when I moved onto the paper we would be using in class, it still worked – big sigh of relief here! I’ll share those pages after the class takes place on Sunday so keep an eye out for them.

And if you haven’t played with Distress Paint yet, what are you waiting for? Seriously, it’s so much fun the way it moves and reacts with water – go get some and I’ll see you back here with the mini tutorial for these pages in a few days!

S.

ICAD 2013 | June 19: yesterday

Tags

, , ,

I guess I’ve moved onto the feather stencil but I promise it won’t be on the next dozen cards!

I put down a strip of drywall mesh, misted with bronze Perfect Pearls mist, sprayed some Mister Huey’s and peeled off the mesh – I love the texture it gives without the dimension!

I then rubbed Inca Gold over the peacock feather stencil, blending the Old Silver and the Rose – this  card has a ton of shimmer!

yesterday - shine

Another Donna Downey stamp and some distressing on the edges finished it off.

yesterday

I’ll do my best not to use that stencil tomorrow – I have an idea for the Yearlong class I want to try out so wish me luck!

S.

ICAD 2013 | June 18: everything’s perfect

Tags

, ,

I’m sorry. It’s another paper towel one but I promise to move on after this one. For a while, anyway!

The sentiment was stamped on a previously ruined index card (I keep them for sentiments) and I highlighted the word “perfect” by stamping that word with some larger alpha stamps and then outlined everything with my Pitt pens:

everything's perfect

I smeared some molding paste through the peacock feathers stencil – on loan from Marg but I definitely have to get my own – and the dimension is fab!

everything's perfect - molding paste

As a matter of fact, I think molding paste might be the next go-to item for my index cards!

S.

ICAD 2013 | June 17: be strong.

Tags

, ,

This is the reverse of one I did a few days ago – instead of backing the paper towel on an index card that had the Blazonry stencil pieces cut out, I cut the pieces out of the paper towel and backed it with an index card.

be strong

I love the colours that happened to be in this paper towel and instead of having it pop against the dark pieces, I left them white and doodled a bit with my medium and XS Faber-Castell Pitt pens.

be strong - doodle

I finished off with some new Donna Downey stamps that I think will be well used over the next month and a half:

be strong - words

I don’t think I’m ever going to get tired of that paper towel technique – I really think it’s just the coolest effect!

S.

ICAD 2013 | June 16: to travel hopefully

Tags

, ,

This was done for father’s day because my dad has a sailboat and this is the quote he has on the wall:

“To travel hopefully is a better thing than to arrive.” Robert Louis Stevenson

I adhered a layer of tinfoil then painted over it with Golden Fluid Acrylics. Once they were dry I sanded the surface to bring out the shine of the foil again. The blue looked like water and whitecaps to me so  adhered a wood veneer boat and the sentiment, then added gold Embossing Paste over a Dylusions stencil for the stars.

to travel hopefully

The embossing paste is interesting because it goes on really cloudy, then turns metallic once it’s dry:

to travel hopefully - wet embossing paste

And I love the idea of texture that came ffrom sanding the paint off the foil:

to travel hopefully - texture

It’s actually really smooth in real life.

Still working my way through and pretty much on track – and still loving this project!

S.

12 on Twelve | June 2013

Tags

,

12on12june

1. the lions, sunbathing in their sleeping bags (aka Gabe’s old winter hats)

2. construction on the new swimming pool/sportsplex – we can watch it all from our backyard

3. Gabe and L watching the cranes and trucks – a four-year-old boy’s favourite stuff!

4. a submission request for a holiday gift idea (Christmas already?!?!?!) that was in my inbox when I woke up

5. my Studio Calico KP kit and tags showed up today

6. working n a bunch of ICAD’s (index card a day) all at the same time

7. Molly playing along with ICAD too!

8. my usual monthly selfie

9. mailing the submission request off to Northridge Publishing

10. Gabe’s last gymnastics class for the year

11. playing a game with old lion – tossing him into a bucket from the top of the slide

12. tired of pictures; 12on12 makes the kiddies hate the camera!

S.

ICAD 2013 | June 15: we must dream

Tags

, ,

This is the second card from the drywall mesh experiment. The first used the mesh that came off this card after it got wet. The awesome thing was the appearance of texture that was left behind:

we must dream - texture

I love those subtle little squares!

I simply coloured over the drywall mesh with Derwent Inktense Pencils, then misted heavily with water. I soaked up the excess water and colours with paper towels and when the mesh came off, this card was what I had left!

I added a rubon, the second half of the quote from yesterday, and drew in some little birds with my Faber Castell Pitt pin.

we must dream

Done – and I love the softness of colour! I have some fun ideas for these watercolour pencils, let’s hope a couple of them actually work out!

S.

Molly and her funny sayings…

Tags

,

The other day I asked the kiddies if they wanted grilled cheese sandwiches or cheesy bread for supper (it was one of those days) and cheesy bread won the day.

Darrell then asked, “How do you make cheesy bread?” Well, Molly and I looked at him like he was crazy – how is it that he doesn’t know cheesy bread after all this time? I gave him the basic explanation – cheese on bread toasted in the oven. Molly got a little more creative:

cheesy bread1. take out the bread (hers is gluten free and in the freezer)

2. make the bread warm (in the microwave)

3. cut the cheese (things almost went horribly wrong here as Darrell started to grate the cheese – Molly was not impressed, her instructions were very specific; that’s a block, it’s not grated!)

4. make the bread warm again (on a baking sheet in the oven, this time.)

As Darrell went through each step he received a check mark and then at the end when he completed his task very well, he got the giant smiley face and check mark.

I’m sure I could have been more helpful during this process but watching him stumble through as Molly coached him was way too entertaining!

S.