For these things…

Tags

, ,

…I am grateful.

I have a new class coming up at The Paperie on October 23 – a gratitude mini album. This is going to be one jammed packed class with work, fun products, and stuff to learn!

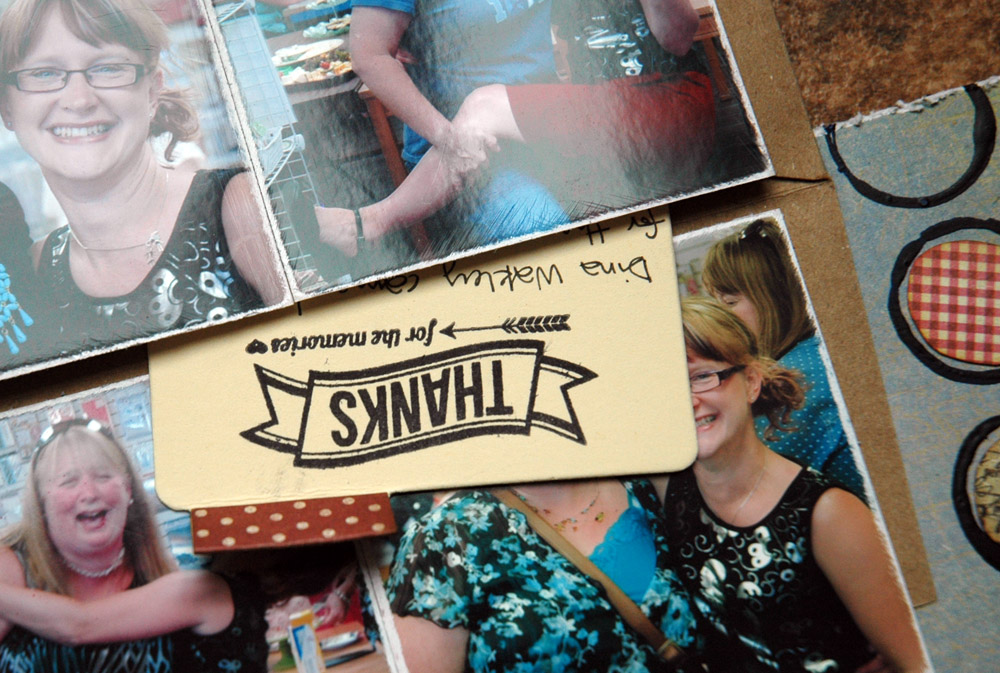
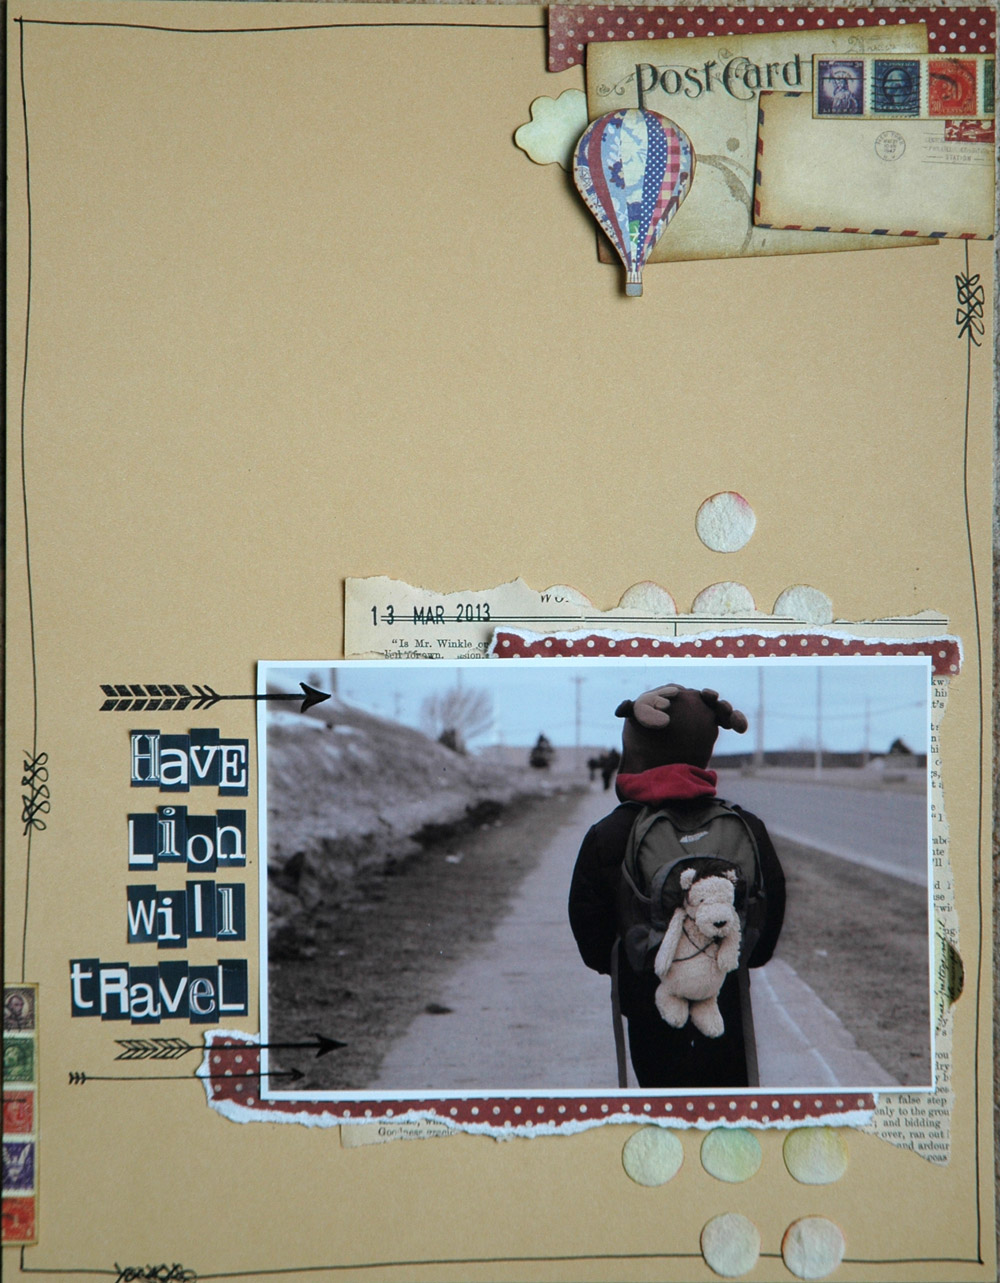
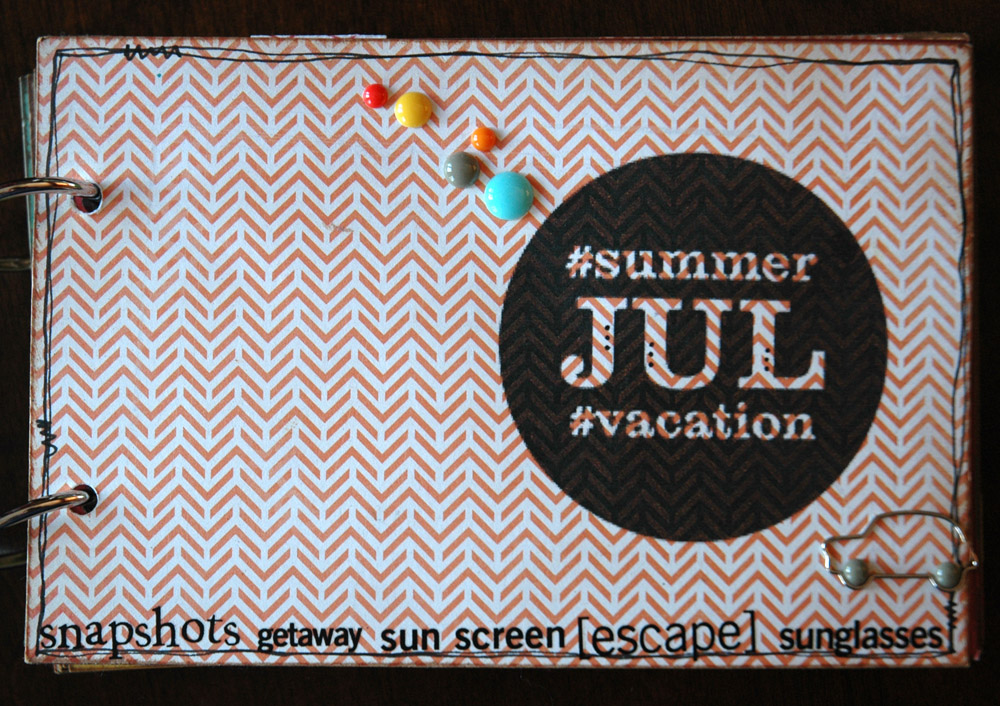
The album itself is based on a mini I did of our beach vacation this summer. I did it on the road with minimal supplies and actually had it finished the day after we got home. Anyone who knows me realizes what a huge deal that is! So friends, if I can do it, you can definitely do it too!

summer vacation mini - cover

In class I’ll show you how to put the mini together, using an awesome 6×6 Basic Grey paper pad, fun Doodlebug enamel dots, great washi tape, and some exclusive digital die cuts that Mary Ann and I are designing just for this album. I’ll run through how to switch it up and do it “on the go” if you want to make a travel album in the future, as well as how to resize photos, add text, and get them on your pages in a fun and interactive way.

summer vacation mini - together page

As if that wasn’t enough, I’m going to give you some photos prompts now, so if you’ve signed up or are thinking about it, you can start your picture taking now! Also, if you wish you could come but the time isn’t right, or you live out of town, give The Paperie a call – they can always put a kit together for you, with full instructions!

summer vacation mini - instax page

Since it’s Thanksgiving in Canada this coming weekend, it’s a good time to get some photos for a Gratitude Album. Here are some ideas for you to run with:

1. a family photo
2. turkey dinner
3. a glass of wine (that may be just me, but I do appreciate a good cold glass of Pinot!)
4. leaves on the ground
5. a beautiful sunset – we get amazing ones here this time of year
6. kiddies playing
7. your current book
8. raindrops on the trees
9. sunshine (crossing my fingers here!)

10. your dog or cat sleeping in their favourite spot

I’m really looking forward to this album and am super excited to see all the things that people are thankful for. With all that gratitude in one room, we’re bound to have an amazing time!

S.

YLA2013 | August

Tags

,

I taught another session of the Year Long Album a week or so ago and we made our August LO’s. These might be among my favourites ever!

We broke out the Twinkling H2O’s, everyone got new stencils and some fun wood veneer, and we played with crayons – it was a good day!

The first LO used a gel medium resist under the photo:

september - pirate boy resist

After spraying our confetti with a bunch of mist colours, we added those for a little extra dimension:

september - pirate boy confetti

A few flicks of contrasting Twinks and the base was done:

August - pirate boy

The second one used crayons for a more subtle (or more vibrant, depending on the brand of crayon used) resist:

september - sleepy girl crayon resist

The crayon I used above gave more of a colour difference while the one I demoed in class was a true resist:

september - crayon resist

Again, we misted and added confetti, this time in a less random pattern:

september - sleepy girl confetti

And, with the extra flicks of Twinks, it was finished:

August - sleepy girl

They’re pretty simple but the techniques can be used for super cool backgrounds and the shimmer of the Twinks just adds to the awesomeness – have I mentioned my love for Twinks? 😉

It’s already October which means I’m thinking about next year’s class and sign ups will be coming sooner than later. We always have the best bunch of people, a ton of fun, and great products so if you’re interested in knowing more or signing up, call the Paperie and get put on the list!

S.

Happily Puzzled…

Tags

,

A couple of weekends ago I attended a day long crop that was a fund-raiser for the Sunshine Foundation. It was loads of fun, we had great food, and there was an awesome silent auction.

A day or two before I went, my friend Karen blogged about how she was doing a puzzle swap. I thought it was the funnest idea ever so I promptly ran out and bought a puzzle.

Kelly

Kelly

At the crop, I distributed the pieces with one rule – have them back to me by the end of the day. Not thinking about it, I never specified up or down or sideways so the pieces all came back every which way! Luckily, I like that randomness so it worked out ok.

Meshell (with input from Meghan)

Meshell (with input from Meghan)

The pieces came in sporadically through the day – one came in less than an hour after I gave them out and the last came back right at the bitter end.

But they all came back – and even without names on them, I think I could tell you who did each one!

Heather

Heather

That’s what I like most about this puzzle – it’s really my friends’ personalities and styles up there on a puzzle piece.

Mabel

Mabel

There’s a lot of glitter and bling.

Bonnie

Bonnie

There’s some mixed media and some basic papercrafting.

Norine

Norine

There’s paint, and glue, and molding paste.

There are some amazing quotes.

peggy

Peggy

And some simple, but perfect, sentiments.

Christine

Christine

And there are fun ideas on little pieces of wood.

Rae Lynn

Rae Lynn

Most of all, there are all my friends, up on my wall.

sunshine crop puzzleI love it! Thank you guys, it’s the perfect art piece for my crafting space.

S.


Currently… | September 2013

Tags

listening: to whatever Darrell has on his iPod – it’s on in the kitchen every morning

eating: still enjoying kale salad and daily ice cream (we are still getting the ice cream truck on occasion)!

ice cream truck

drinking: mostly water and wine

wearing: crop pants and tanks – summer temps are lingering!

feeling: pretty good – the kids here are great & Molly is liking school

weather: typical September – good temps, a fair amount of rain

watching: premieres: The Voice, X Factor, Glee, Masterchef Jr.

reading: not much – enjoying crossword puzzles again before bed

wanting: less drama over homework – it’s a fight every night

homework

needing: a way to deal with 6-year-old attitude and sauciness

thinking: about fall classes, the retreat, and a trip to Ottawa for me and Gabe!

enjoying: designing new classes and playing with fun products

wondering: how the next Yearlong Class will look – some ideas are spinning

wishing: this amazing fall weather would stay all year – I’d give up summer if I could have no snow!

swing

S.

Simple Scrapper | October 2013

Tags

,

DT badge - simple scrapper

Have I got some eye candy for you all today, my friends! Not only am I sharing my October LO’s for Simple Scrapper but so are a bunch of the other SS girls! I’ll leave a link to their blogs at the end of this post so make sure you check them out and leave them some love.

First of all I have to say, I always love Jennifer’s templates and Story Starters but I really think she outdid herself this month – they were fabulous!

The template LO I did used a bunch of Studio Calico PL cards:

so very loved

Love how this turned out. I took the photo of Molly when she and I had a “Sam”* day earlier in September and it worked perfectly with these cards and template.

I added a line of text to the photo before I printed it so I didn’t have to add extra journaling on the LO itself:

so very loved - photo

My Story Starter LO this month uses pictures of Molly on the day she was born and because of the journaling and photos, it may be one of my all time faves:

you are here

I hid the journaling (of course) in an envelope behind the pictures:

you are here - journaling

A few sequins, some tiny Basic Grey Alphas, and that was it!

you are here - title

Now, time to head over to see what the other girls have in store for you. They all rocked the templates this month so you’re in for some great inspiration!

Aimee Maddern
Arielle Gordon
Janet Carr
Lisa Corbin-Polak

S.

* SAM = Sara And Molly (funnily, this is also the name I called Molly before she was born)

The Premium Membership at Simple Scrapper provides skills and shortcuts to help you simplify and find more meaning in your memory keeping.


Paperie Card Kit | September 2013: Part 3 (mini album)

Tags

, , ,

Well, I ended up with a nasty head cold last week and so this didn’t get posted on Friday as planned – sorry!

It’s all here now though, so be prepared for a bunch of photos (you may want coffee. Or tea. Or something decaffeinated. Go ahead, I’ll wait!)

sunshine

I made this album to highlight a few of my favourite summer pics. I put in 6 tabs, one each of June, July, and August for Molly and Gabe, and then added the photos of them that I loved from each month.

The album is a bit sturdier than usual – I used super heavy chipboard for the covers and spine and a Tim Holtz small ring binder to hold the pages. I decorated the cover with some of the Farmhouse Paper Company stickers and used the included stamp set with gold embossing (my favourite thing lately):

sunshine - embossing

And hung a Tim Holtz Idea-ology Collage Key from the spine:

sunshine - spine

For the first page I cut down one of the envelopes and misted it. I then decorated it with one of the Farmhouse flowers (sidenote: not a flower lover here but these ones are gorgeous!) and a bit mist. It holds bits and pieces from the summer.

sunshine - envelope

The main pages are cut down and then folded up to make pockets where I put additional photos. The back of each pocket has a full size picture:

sunshine - august gabe

And the mist I used on the envelope and pocket pages is, of course, shimmery gold to match the embossing on the cover!

sunshine - gold mist

Each of the small photos is mounted on a 7 Gypsies library card (not included in the kit but the Paperie carries them, fabulous for PL!). The date is written on the tab and there’s a small line about the photo on the back:

sunshine - small photos

That’s it! You made it to the end – whew! If you live locally and want to see the full album, check it out at The Paperie, along with the rest of my LO’s and Wendy’s cards.

Come back tomorrow, my post is ready to go with the October Simple Scrapper templates and a bunch of the SS girls are joining in too!

S.

Week in the Life | September 2013

Tags

,

Every year, Ali Edwards does a weeklong, pretty intense project she calls Week in the Life. I took part last year and loved it.

This year The Paperie decided to get involved and some of the designers, instructors, and even the store owners took part. We had an information session where people could sign up to get daily email blasts with tips, tricks, photo prompts, and encouragement to keep going, and this Saturday we’ll be having an all day crop to get our albums put together.

Before that takes place, I thought I’d share my album cover and tell you what I’ve done with my pictures, in case you still needed to get yours printed!

As with most of the others designers involved, my initial concept has changed. Not surprising given the amount of photos I took each day! I am sticking with a little mixed media content and divided page protectors in a Simple Stories 6×8 Sn@p album – the orange one.

To be honest, when I altered the back of the album a couple of weeks ago, I wasn’t sold; I even considered getting a new one and leaving the chipboard cover as is.

back cover

I did like the large camera stamp and colours though:

back cover - detail

So I did the front cover and suddenly it all seemed to fall into place:

front cover

I love the textures of the Distress Paint and Mist, layered with Modeling Paste:

front cover - detail

The colours were chosen based on the Simple Stories Basics papers I’m using and I think this album is now going to work perfectly!

My photos are mainly 3×4 with a few 4×6 each day and there’s one 6×8 enlargement per day as well. My one complaint? The 6×8 page protectors are waaaaay bigger than 6×8 so I’m going to have to mount the photos on backer paper – I hate how they slide all over the place.

My smaller photos are all edited the same way: in Photoshop Elements 11 I resized each picture and then added text with the time and a short line about what was happening.

tuesday

My daily sheets will fill in the gaps and tell extra stories and all I’m planning to do on Saturday is add embellishments. All the photos are cropped and added to the page protectors already (this takes longer than you may think so if you can get this part done ahead of time it’s a great time saver for the crop!)

I’m stoked about Saturday and can’t wait to see what everyone is doing – I love how different this project can turn out! I already know the designers have different albums and sizes, plus Wendy will be doing hers in her PL album so there will be tons of inspiration this weekend for whatever style of WITL you’re scrapping!

I’m hoping to catch five minutes and have my final September Card Kit post up tomorrow with the mini album – be sure to stop back then for a look!

S.

Paperie Card Kit | September: Part 2 (landscape LO’s)

Tags

, , ,

I’m back with the landscape LO’s I did with the kit this month. I actually have two 8.5×11’s and one 6×8.

The first one has a fun element of the title stamped and heat embossed on the photo itself:

possibilities - title

I love the shine of the gold embossing powder!

I also layered a bunch of cloud stickers and a hot air balloon to make an embellishment cluster at the top:

possibilities - layers

I used one of the random looking stamps and some brown ink to add subtle texture to those elements, then stamped the date in black.

It’s a perfect title and soft look for this pic of Molly:

possibilities

The second LO is completely different than the other four I made – it’s amazing how you can really change up the look of a kit with some different ink or mist.

I used Clear Tar Gel through a stencil, then Dylusions Ink Spray to get the resist:

vw van - resist

And I angled everything for an interesting look. The picture is of my brother and I sleeping on what appears to be a couch in a tin can but is really the backseat of our VW Van, before my father made it into a rockin’ campervan. 🙂

vw van

Finally, I made an unusual size, a 6×8. This could be mounted on an 8.5×11 sheet of paper but I’m going to cut an 8×8 page protector down and slide it in that as it is.

dina

The main photo is on an envelope that flips open:

dina - flip open

to reveal 8 more pictures! I love the pics that were taken at the Meet and Greet The Paperie had for Dina Wakley and really wanted to showcase them all – this works for me!

A little hidden journaling in the envelope, accented with another great stamp from the included set:

dina - journaling

And some stamped circles, Dina style, with wonky, hand cut circles of patterned paper inside:

dina - circles

I hope you liked these and enjoyed the overabundance of photos – I’ll be back soon with the mini album I made!

S.

12 on Twelve | September 2013

Tags

12on12september1. Molly reading (making up) stories to Gabe very early in the morning

2. Standard porch selfie!

3. Brushing her own teeth

4. Going to school

5. Building Legos – it’s been a bit of an obsession this week

6. finishing touches on a canvas I’m donating to an auction for the Newfoundland Chapter of The Sunshine foundation – everyone welcome to come bid on items, let me know and I’ll send you the place and time!

7. story time

8. Nana saved me and did Molly’s homework with her

9. bye Nana

10. fresh Eastport greens from cousin Jason

11. why Ella has to sleep on the car is beyond me

12. munchies at Montana’s after KTOL class

S.

Paperie Card Kit | September: Part 1 (portrait LO’s)

Tags

, , ,

Today I’m sharing the two portrait LO’s I did with the September card kit. True to form, I did 4 – 8.5×11 LO’s and a mini album, plus a bonus 6×8 LO that I’ll share later (it has 9 photos on it!).

This was the first LO I made with the kit:

traveling lion

I love this pic of Gabe – everywhere we go, he wants Lion to tag along by riding on his backpack. It’s definitely a shot in time of Gabe and what he likes!

The kit is full of vintage looking Farmhouse Paper Company papers and they have the best bits and pieces for embellishing – I couldn’t resist using the balloon and postcard to reinforce the travel theme. Plus, I love a little cluster of goodies!

traveling lion - cluster

The second LO showcases a new and exciting skill Molly learned this summer – blowing bubbles!

bubbles

She was so proud of herself and insisted I take a picture…

every. time! It really was a big deal. 🙂

As per usual, I added hidden journaling:

bubbles - journaling

And I created a focal area by smearing molding paste through a stencil down the centre of the page, then layering the title over that:

bubbles - title

I love these papers and discovered the best way to add pictures was by editing the colour on my photos. The papers are such muted colours that the photos were clashing with the papers – adding a slight sepia tone made all the difference and now they look like they belong with the papers.

There may be one or two kits left at the Paperie and trust me, between the exclusive Farmhouse product and the awesome stamp set, this is one to pick up!

S.