
Tags
I know, I know, I’m being super slow about posting these LO’s but I’m almost done! Here’s the last one, with a mini tutorial about how it all came together.
First of all, I smeared Silver Croco through the Chunky Chevron stencil by Balzer Designs for The Crafter’s Workshop to make a place for my photo. You can see from the picture what’s it like wet (on the left) and dry (on the right):
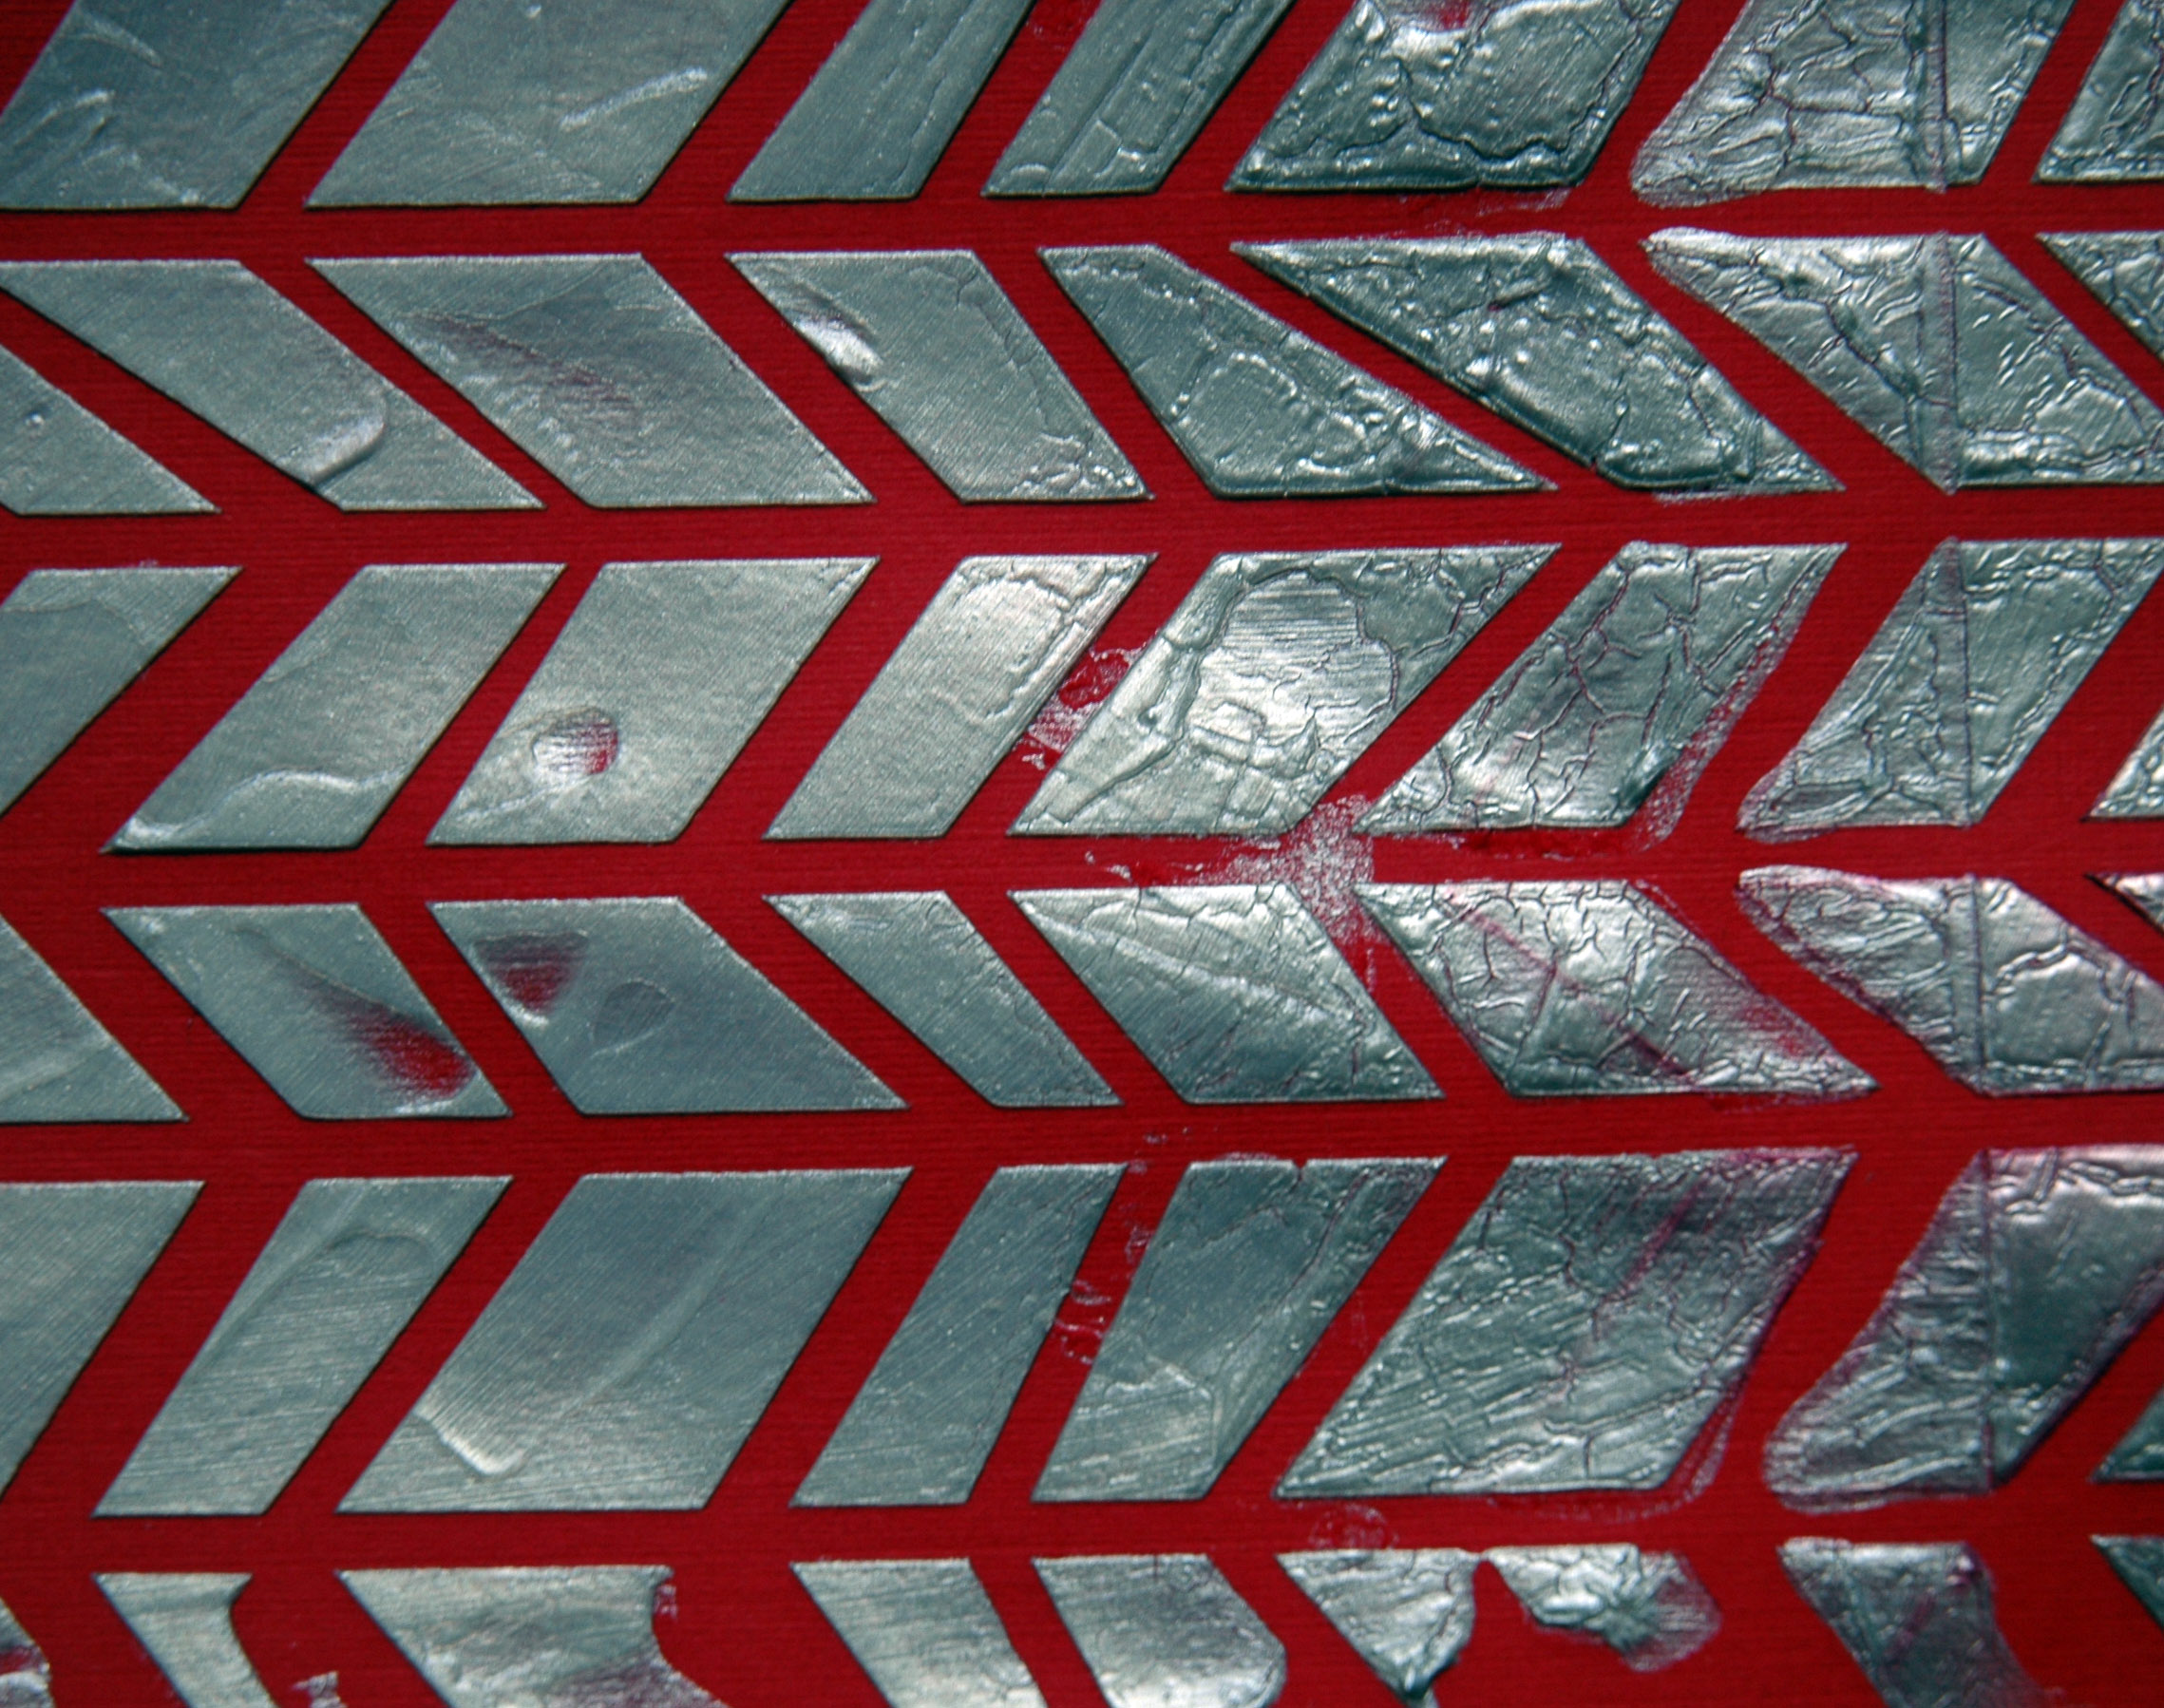
I love the shine and crackle! Plus, this paint can be heat set immediately and still crack – that’s an awesome quality in my impatient books! And when you overheat it you get bubbles along with the cracks, making fabulous texture:

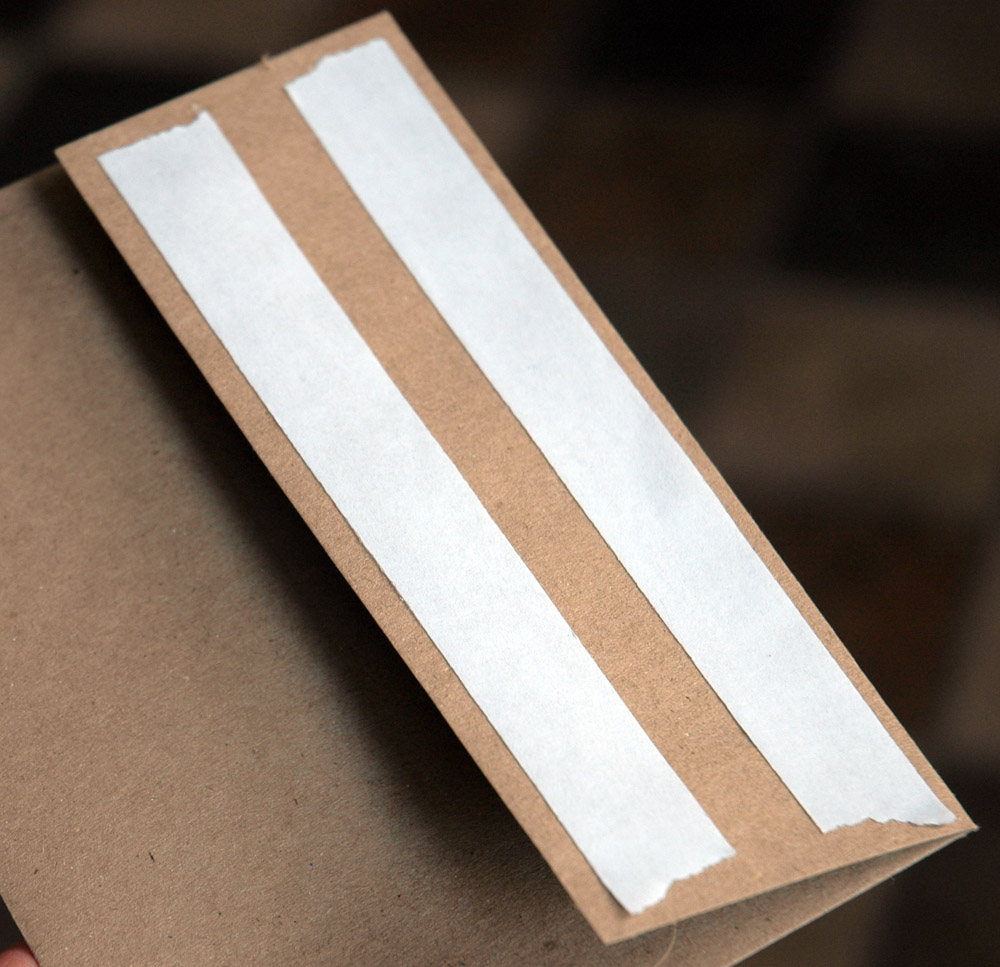
Once that was all dry, I decided to make a fun interactive piece. I like to have one picture on my LO’s but there were a couple more I wanted to include. Also, I like to hide my journaling so I needed to figure out a way to get all those elements on the page and still only show one photo. The solution? One of the kraft envelopes in the kit! I added tape to the flap:
Then I added little patterned paper and sticker flags to the edge:

Once it was adhered to the background page, I had a spot to put my extra pics and a pocket for my journaling – you just use the flags to flip it open:

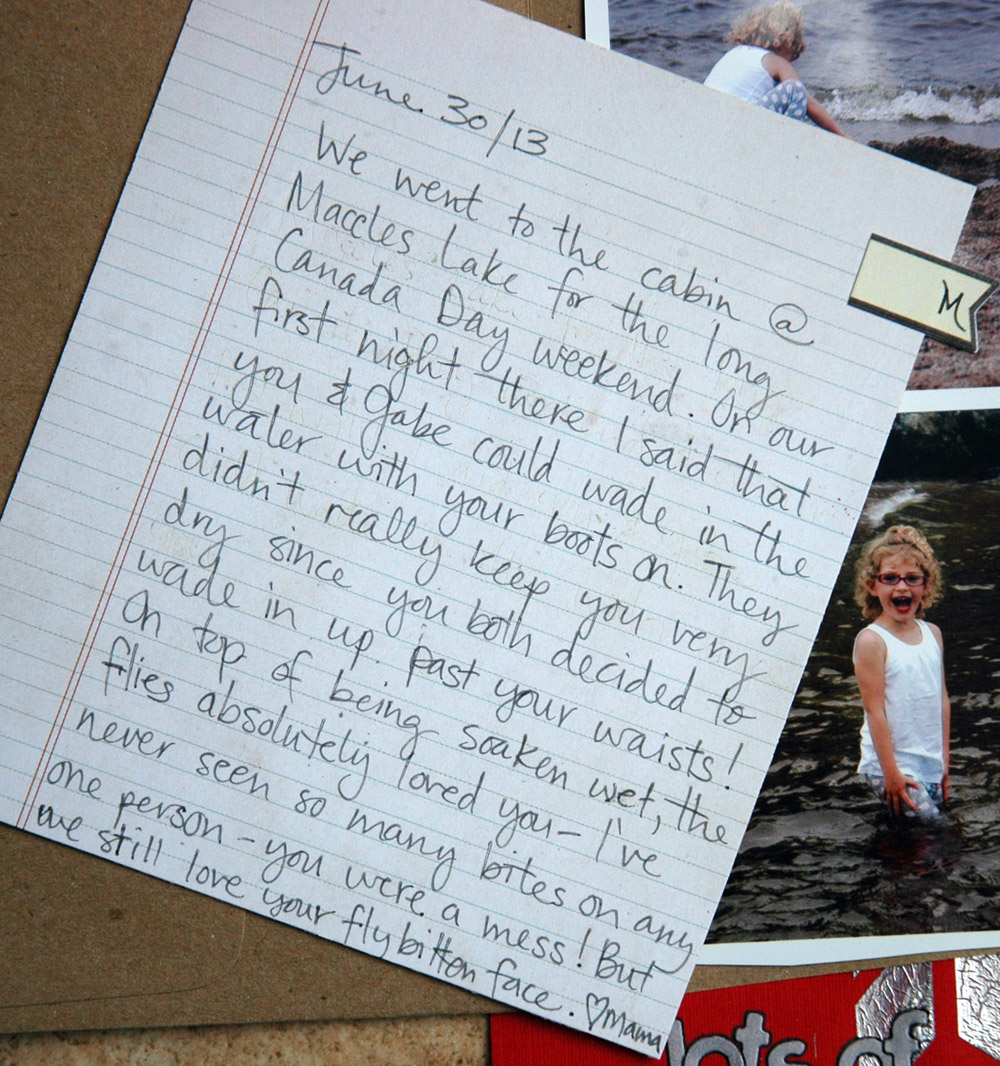
I simply made a journaling card, wrote on it, and tucked it inside the envelope:
I added my title with the Simple Stories alpha stickersin the kit, doodled around them, and finished the whole thing off with some washi tape that was in the last Card Kit:

I have one more item to show you from this kit – I pretty much used it all up! – and I’m hoping to post that for you early next week. This weekend is going to be all tied up with Dina Wakley coming to the Paperie and I. Can’t. Wait!
S.
Related articles
- Sara’s Card Kit (thepaperie.wordpress.com)
- Dina Wakley is coming to The Paperie! (sarathings.com)
- August Card Kit Part II (thepaperie.wordpress.com)

Love this layout, Sara.
LikeLike
Thanks Norine!
LikeLike
The spread looks amazing. I love the pocket idea for the writing. It gives you so much more room to write (and not have to feel pressured for the writing to fit into the design perfectly).
LikeLike
Thank you! I normally forget about journaling until the LO is complete so hiding it saves me all kinds of trouble!
LikeLike